|
You will need:
Ù Food dye, either powder or liquid (the dye that I use here is sold in my store click the shopping link)
Ù White vinegar
Ù A dish/bowl/bucket for soaking in vinegar
Ù Light coloured (preferably undyed) wool or other protein-based fibre (ie from animals, not cotton or synthetic)
Ù Scraps of other wool for tying the wool to be dyed into a bundle
Ù Microwave safe dish that will fit the wool (I use a rectangular dish about 20 x 25 cm to fit one ball of wool although a little bigger would be nice)
Ù Plastic wrap (cling film type stuff)
Ù Plastic cups and or squeeze bottles or the like if youre diluting the liquid dye or making up powder dye
Ù Rubber gloves if you dont want coloured hands
|
|
Method:
1) Wind the wool from the ball into a skein so that youll be able to get the dye onto it. Tie it in a few places so that it doesnt get tangled. I wind the wool around a book and then slide it off and tie it with black wool so its easy to find the ties later.
2) Mix vinegar with equal quantities of water in a bucket or large bowl. Soak the wool in this for about half an hour. You need to be sure the wool has vinegar well soaked into it, so make sure there are not bits sticking out of the water.
3) Dilute your dyes if youre not using liquid dye straight from the bottle.
4) Squeeze gently so that you wont be diluting the dye too much with water left in the wool.
5) Lay a piece of plastic wrap into your microwave dish, making sure to have it long enough that youll be able to fold it gently over your wool for microwaving.
6) Lay your wool onto this, spread so that you can get the dye onto it.
7) Put on your gloves and squirt or pour dye where you want it on the wool. Make sure you dont have too many pools of dye in the bottom of the dish or all the colours will mix and your wool might be spoiled.
8) Gently fold the plastic over the wool. You dont want to seal it together, but it does need to be covered.
9) For one ball of wool, microwave on high for 2 minutes, then turn your dish and rest for 2 minutes, then high again for 2 minutes, then turn your dish and rest for 2 minutes, then high again for a final 2 minutes. So in other words, youre microwaving for 6 minutes in total, with short rests every 2 minutes. I like to turn the dish a little each rest time just to be sure that all the wool gets thoroughly heated.
10)Let the wool cool to room temperature before rinsing, or the fibres will be shocked which means theyll all shrink and matt together (felt) and be spoiled.
11)Rinse the wool well with water about the same temperature as the wool (ie not icy cold). The wool should keep the colour that it has reached and it should just be excess dye that is washed off. Keep going until the water runs clear.
12)Squeeze gently and lay it out on a drying rack to dry.
Comments
Ù Instead of microwaving your wool, you can steam it on the stove top. Steam it for approximately 45 minutes in an appropriate steaming pot. If you have several colours that you don't want to mix, you can do this wrapped in plastic wrap.
Ù You can dip dye instead of squirting the dye on, or paint the dye on.
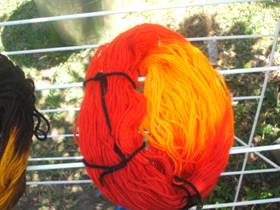
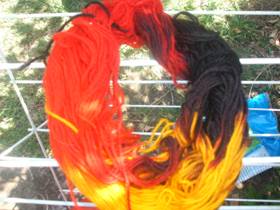
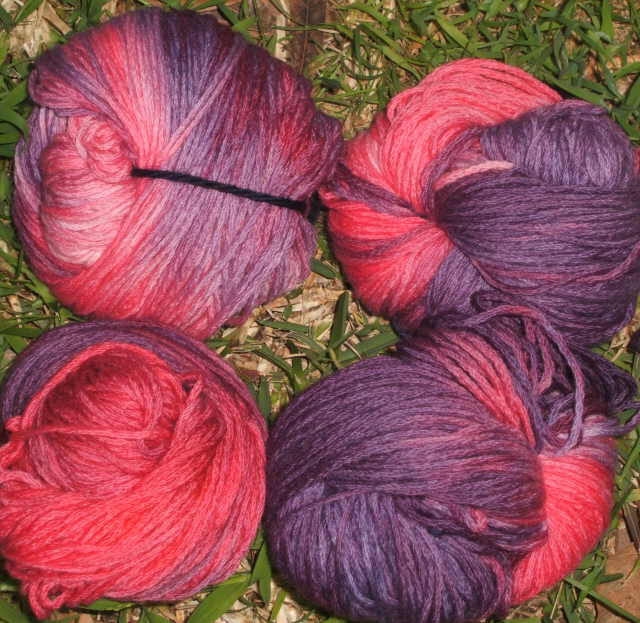
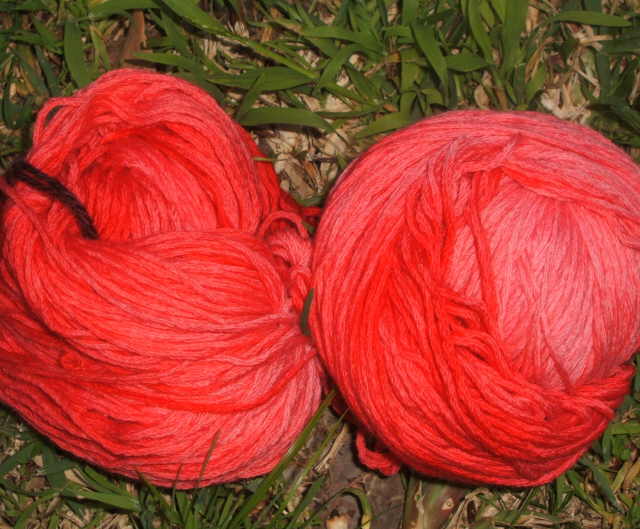
Ù Diluting the liquid dyes generally I would recommend diluting the liquid dyes. In the red/orange/yellow wool picture below I didnt dilute the dyes at all and the colours have turned out lovely and bright, BUT the orange looks more like red. It would be a better orange if diluted. In the red/orange/yellow/black wool below, the black is actually undiluted purple. I have found purple, blue and green all look close to black when undiluted, rather than just looking bright. I have inexpensive clear plastic squeezy sauce bottles from the supermarket that I use, so I can mix straight in the bottle and if there is a lot leftover I just put the lid on and add to it next time if the dilution rate doesnt need to be perfect (ie if not trying to match a previous dye lot!).
Disclaimer
This method has worked well for me, and I've tested the wool on garments such as beanies. I've washed the wool in wool wash and found no colour coming out, BUT this is just my own experience. Please test it yourself first to ensure that it works for the purpose you have in mind. If its going to be pressed up against a wet nappy then there may possibly be issues with the colour running. If you wash it in the washing machine, perhaps the colour will run onto other garments. This hasn't been my experience, but it has certainly been reported to have happened. So please, test it yourself first!
|

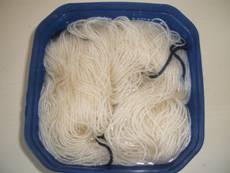
This is the wool Im using before I start
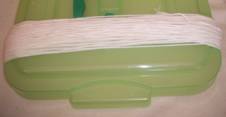
I wind the wool around the lid of a plastic tub

Slip the wool off the end and tie it so it stays neat
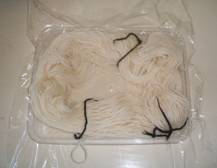
Put it into a bath of vinegar/water for 30 minutes
Squeeze it gently and put it into a microwave dish lined with plastic wrap

Prepare your dyes
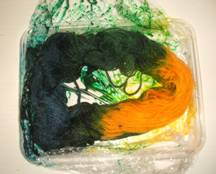
Squirt the dye onto the wool, making sure it goes through to the bottom
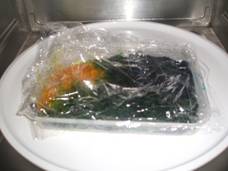
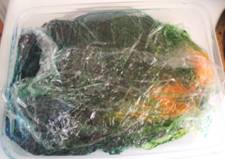
Gently fold the plastic wrap over the top and put the dish into the microwave for cooking
Let it cool, then wash out any excess dye
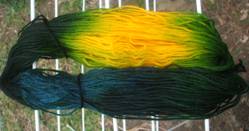
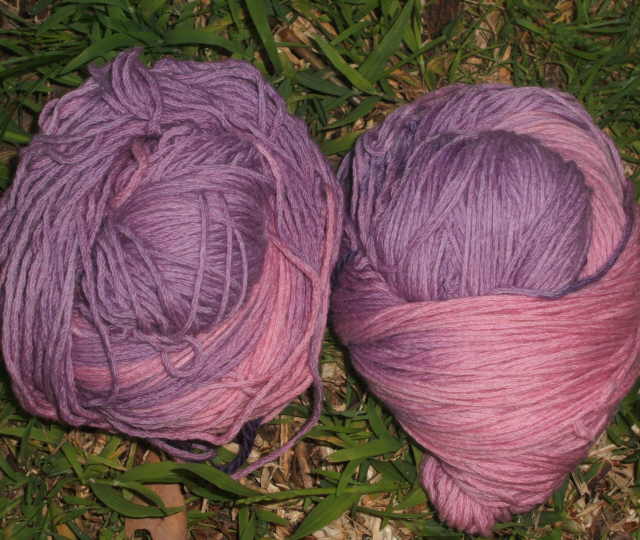
And youre done! Put it out on a rack to dry
|