 |
|
|
|
Fitted nappies
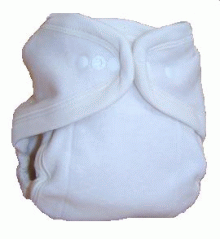
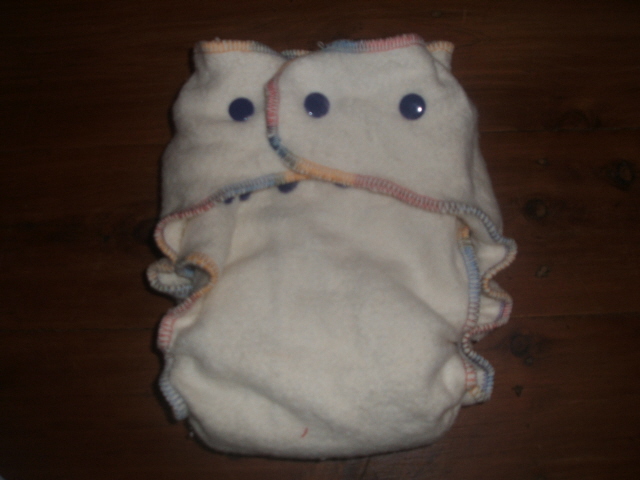
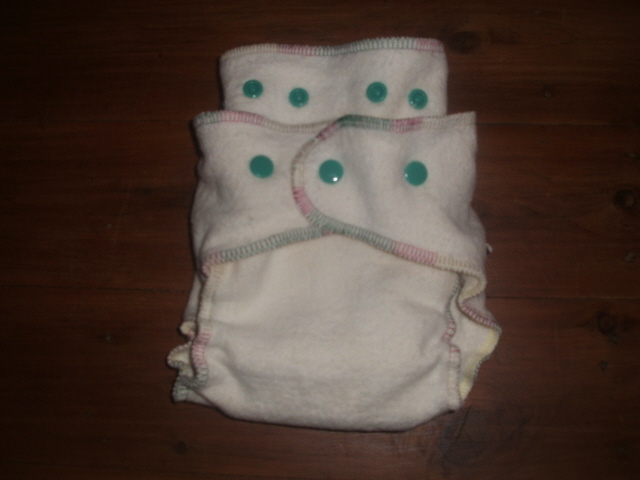
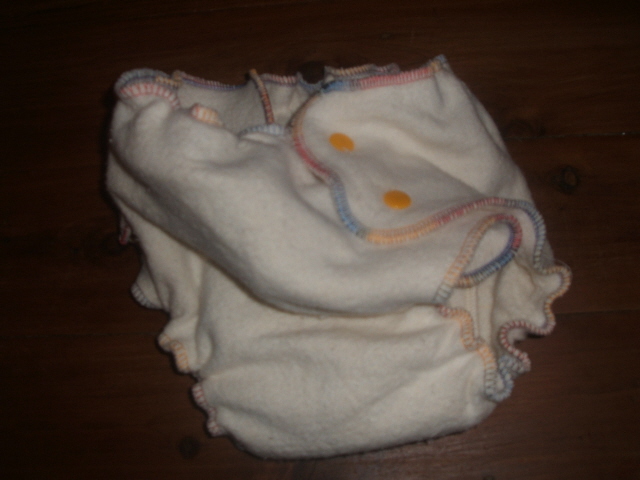
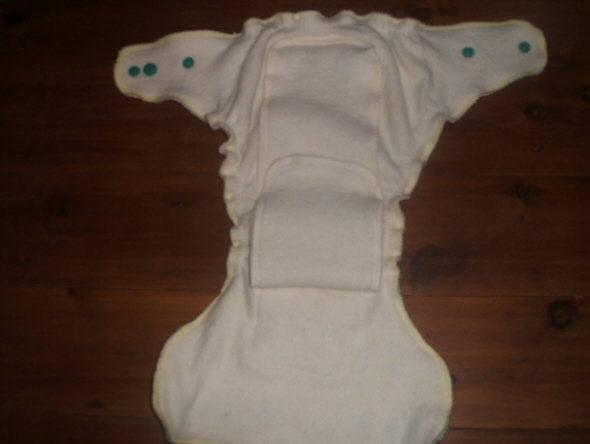
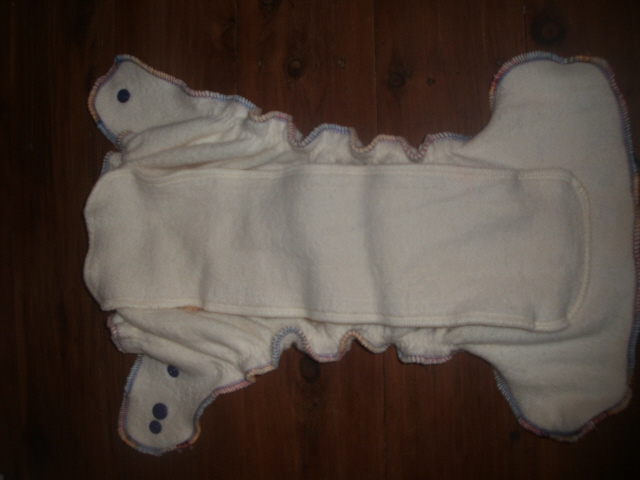
Here is a more detailed overview ... Please dont take the information here to make fitted nappies to sell. This information is posted to help you know some features when buying them, and for making them for home use. If you would like to make your own fitted nappies based on these patterns, why not book a workshop (see link in side menu)? These nappies have all been based on the basic design that I made up for my son (and changed and changed to get right for him), and have been made smaller, larger, wings expanded and shrunk, etc. Various features have been added too. Here is a picture of a fitted nappy.
|

 |
 |
 |
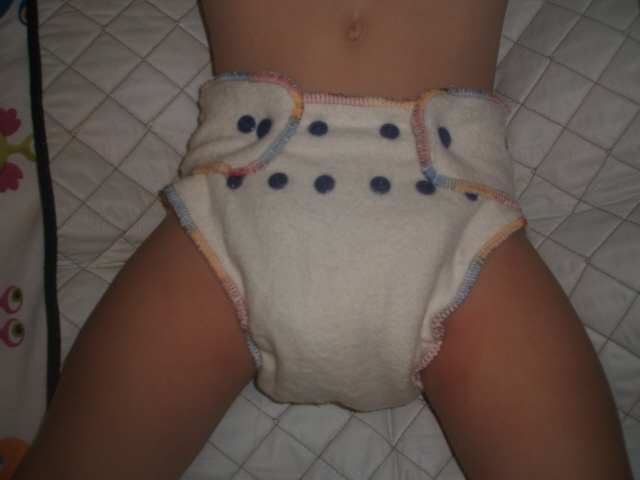
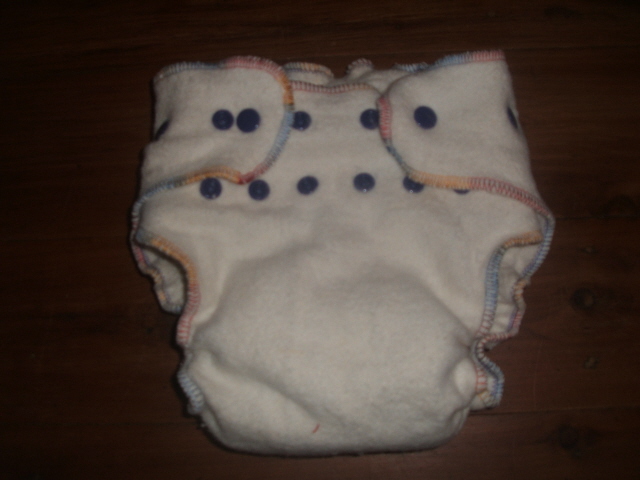
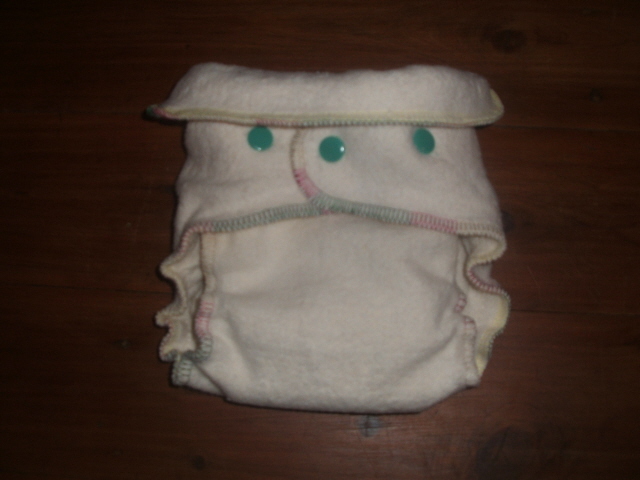
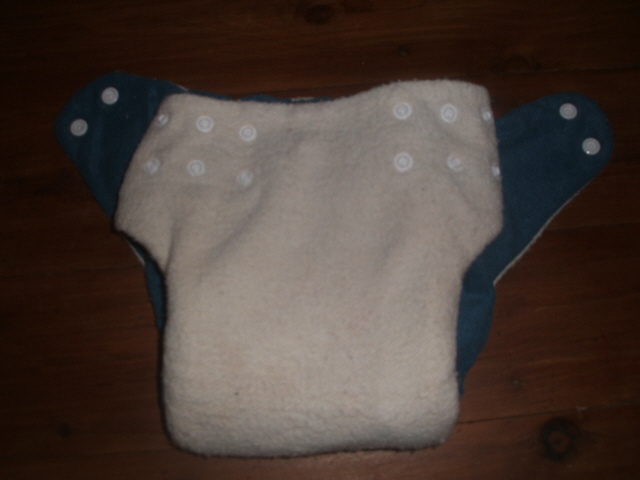
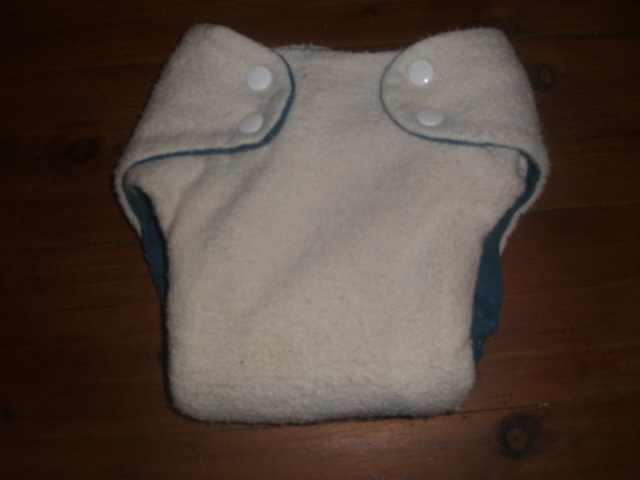
| Snaps have been placed at the front. One row is done up. This is on the tightest setting. | See the extra snap on the left hand wing? This is so you can overlap the wings, giving a tighter setting. This picture shows the same nappy on its loosest waist setting. | There is also a second row of snaps. This is so that you can shorten the rise (height, from back to front), so the nappy will fit a smaller baby. It could also be made with only one row of snaps if that was all that was needed to look less busy. |
 |
 |
 |
| Here the snaps are done up on the top row. | Now they are done up on the bottom row. | The top is folded over so that it doesnt stick up. |
 |
 |
 |
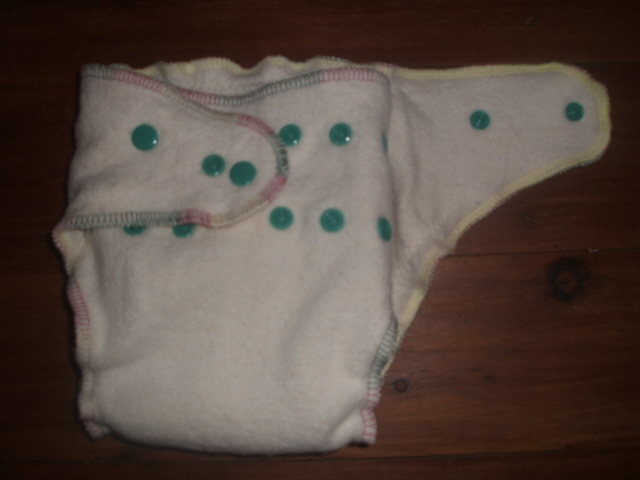
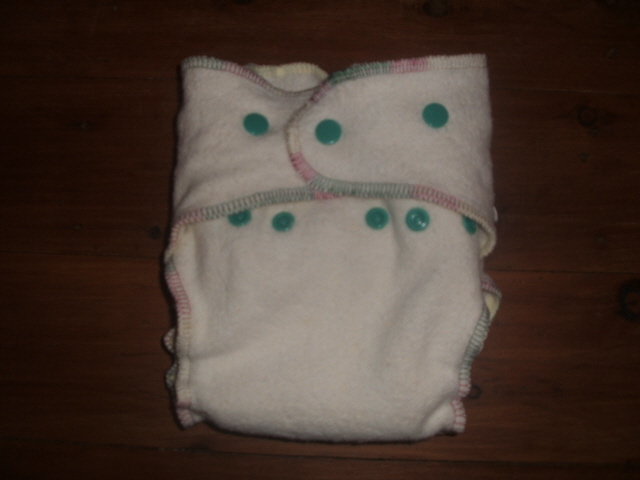
| This nappy has side snaps. I like the wings that are on top to come from the back (a bit like short front snapping ones), but you will often see side snap nappies with the front wings going over the back ones. | See the two rows of snaps here. This time you do up one snap from each row. These are great for adjusting for little waist and chubby thighs or the other way around, but often have less adjustment for the baby growing overall. | This picture shows the side snaps done up. |
 |
 |
 |
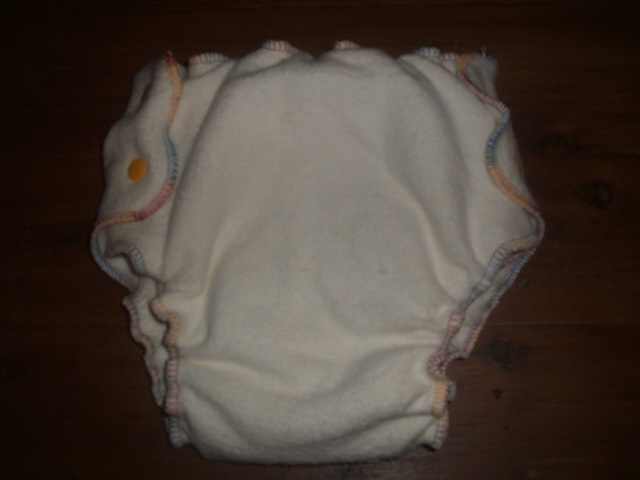
| You can also have the snaps across the front with two rows that do up. Notice also that all the nappies in this row are turned rather than overlocked on the outside. |
Here the snaps are done up. There is lots of waist adjustment, but not much anywhere else and some people find that if they use the tightest setting the inside edges can droop a bit. | This is a side snapping nappy with the front as the top part for snapping. Good for bubs who can undo their snaps as they are less obvious from the front. |
 |
 |
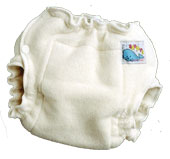
All the nappies in the row above have suedecloth as their inner layer. They are pocket nappies so there wont be any other boosting with absorbent fabric on the inside. Some people like an inner layer of suedecloth (very trim), microfleece or similar to keep baby feeling dry. |
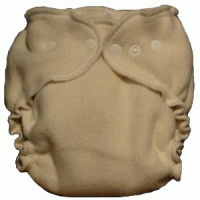
| Most of the nappies on this page have bright snaps. This one is here to show an overlocked on the outside nappy in a natural colour with more natural looking snaps. | Another option is hook and loop tape (often referred to as Velcro). This is great for ease of use, although can get fluff caught in it even with washing tabs that should prevent it a bit. Hook and loop tape can replace snaps in most styles. Lots of people prefer it because it is so quick to use and has more variation in adjustment (ie you are not limited to where the snaps have been placed). |
And now to the inside of the nappy.
This is how I like to do a fitted nappy.
You can have layers sewn into the middle, sewn onto the outside, snapped onto the outside or just folded and sitting inside. I like a combination of the first three of these options to save drying time and give choices balancing up trimness and absorbancy.
 |
 |
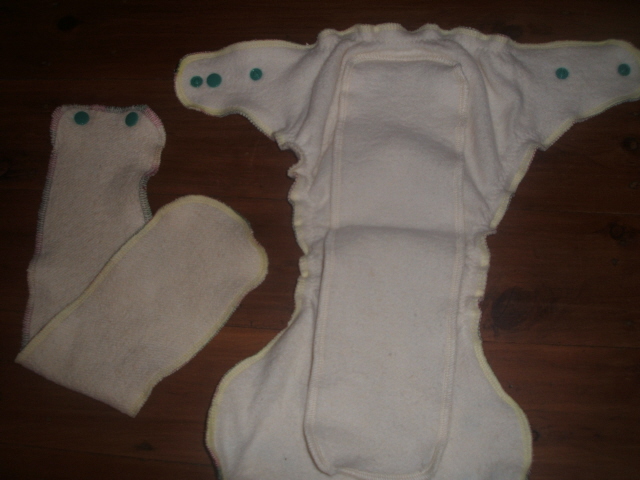 |
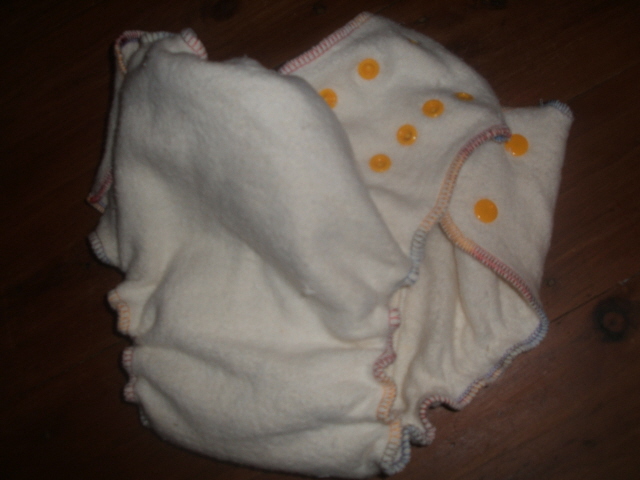
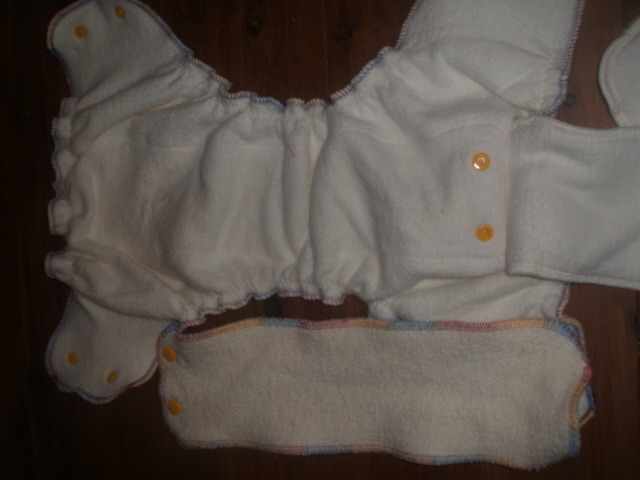
| Here is an opened out nappy with a sewn on booster that is folded down ready for use. It is only sewn on the top so that it opens out for quick trying. In this case there are two extra layers in the nappy body (giving total of 4 layers in the body) and 2 layers in the fold out bit (which could easily be 3). | There are also 3 extra layers, as there is a hidden snap in booster. I like this booster to snap under the sewn one, so there are no snaps in contact with bubs skin. Note that boosters (snap and sewn) are attached at the back so they can be folded away from the front of the nappy if it is used on its shorter setting for a newborn, enabling the front to be folded down. |
See, it just comes right out. This means that if you want a trimmer nappy in the day time you dont have to use it. Or you can have two different snap in boosters with one of them being longer and used folded extra layers for night time. |
 |
 |
 |
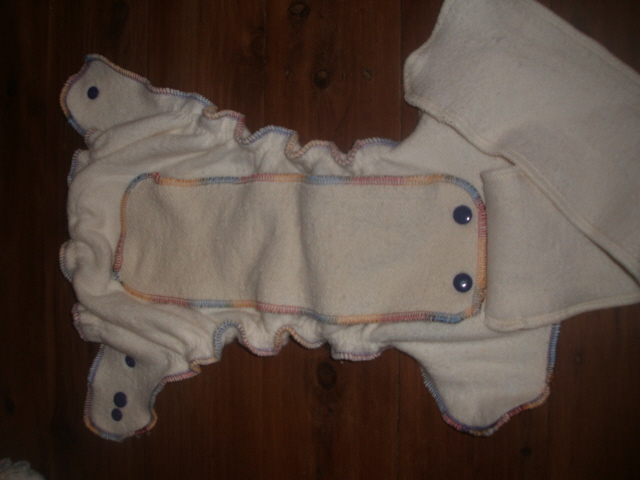
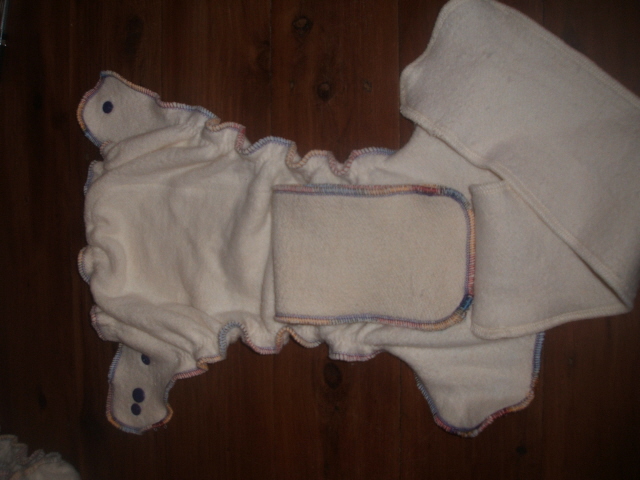
| This nappy has the boosters sewn and snapped from the front. I prefer this for a boys nappy. It adds the absorbent layers more towards the front where it is more needed. | And if you have a heavy wetter, you can even fold down one of the boosters (or get a longer one for folding) for even more layers just at the front. | Cover the folded booster with the sewn in one, and you have extra layers but all held in neatly and nice and comfortable. |
 |
 |
With the boosters, you can get whatever combination you want. If your bub isnt a heavy wetter you may not need a snap in booster at all. You may prefer both boosters to be snap in. Or you can get two snap in boosters as well as a sewn one get one double the length for folding over. |
| This is the side snapping nappy with the same construction inside. The picture here shows the snap in booster removed as it may be used during the day when changing is more frequent (and perhaps clothes trimmer!). | This is a pocket nappy that functions like a fitted so all the boosting is inside (see pocket nappy page for details). This layer is suedecloth, and helps keep baby nice and dry. |
A couple of little details about the snap in boosters:
- I use matching thread and snaps to help you put them together quickly, although I can easily make sure that all of your nappies and boosters are interchangeable. I can colour code in a different way if you like too for example 3 layer boosters in one colour and 2 layer boosters in another.
- I like to put the snaps for additional booster attachment underneath the sewn in booster. This just means no snaps are touching bub.
- You can also fold up a cloth (even a terry or flannelette nappy, although hemp is more absorbent) and lay that inside as a booster.
- There are no snaps placed to touch bubs skin. The ones at the front and the snaps for your booster are put in before sewing layers together (with reinforcing inside) so that the backs dont touch your baby.
A little comment about my nappy design
I havent actually looked at that many other fitted nappies that people are selling, as when I first started using nappies I used PUL outer pockets. Im hoping that I havent made something that looks too much like anyone elses, and hence causing concerns about copying.
All of the nappies have developed from the first pocket nappy that I made for my son, that has had the size and shape adjusted and altered many, many times. I know that it is easy to look at someones nappy and say Hey, that one looks like a copy of the
pattern or something similar.